Step 9 — Photo Upload
Step 9 of 11 — Media & Branding is where you upload all photos and videos for the villa. Images are organised into 17 categories and stored in SharePoint.
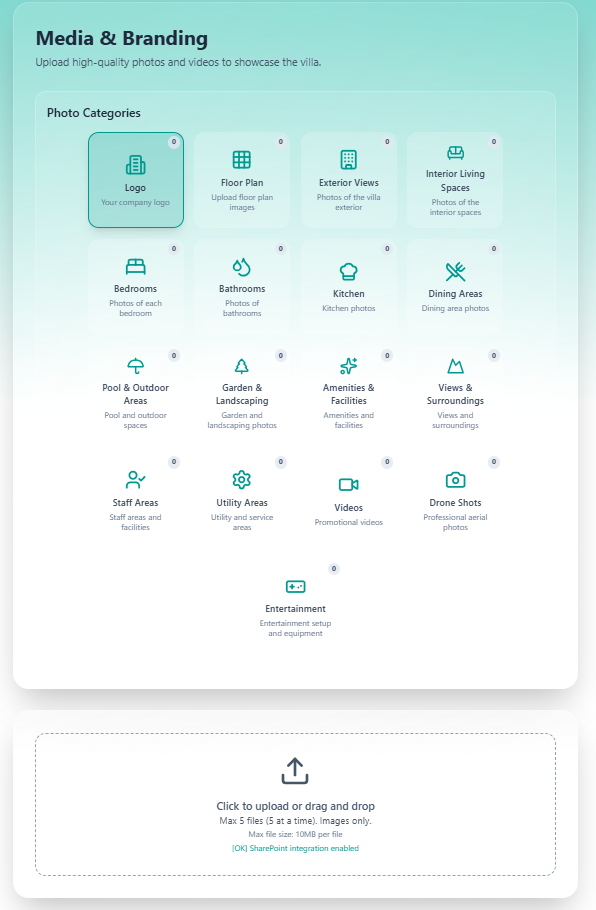
Photo Categories
Section titled “Photo Categories”Click any category tile to select it, then use the upload area below to add files.
| # | Category | Description |
|---|---|---|
| 1 | Logo | Your company or villa logo |
| 2 | Floor Plan | Floor plan images and layouts |
| 3 | Exterior Views | Photos of the villa exterior |
| 4 | Interior Living Spaces | Interior room and lounge photos |
| 5 | Bedrooms | Photos of each bedroom |
| 6 | Bathrooms | Bathroom photos |
| 7 | Kitchen | Kitchen area photos |
| 8 | Dining Areas | Dining room and outdoor dining photos |
| 9 | Pool & Outdoor Areas | Pool, terrace, and outdoor spaces |
| 10 | Garden & Landscaping | Garden and landscaping photos |
| 11 | Amenities & Facilities | All amenity and facility photos |
| 12 | Views & Surroundings | Views from the villa and surrounding area |
| 13 | Staff Areas | Staff facilities and workspace areas |
| 14 | Utility Areas | Utility and service area photos |
| 15 | Videos | Promotional videos of the property |
| 16 | Drone Shots | Professional aerial photography |
| 17 | Entertainment | Entertainment setup and equipment |
Upload Area
Section titled “Upload Area”The upload zone appears below the category grid.
| Specification | Value |
|---|---|
| Upload method | Click to browse, or drag and drop |
| Max files per upload | 5 at a time |
| File types | Images only (for photo categories) |
| Max file size | 10MB per file |
| Storage | Microsoft SharePoint (integration confirmed: [OK] SharePoint integration enabled) |
How It Works
Section titled “How It Works”flowchart LR A[Select a category tile] --> B[Drop or browse files\ninto upload zone] B --> C[Files sent to backend] C --> D[Stored in SharePoint\nunder villa folder/Photos/Category] D --> E[Upload counter on\ncategory tile updates]Each category tile shows a small counter badge (orange dot) indicating how many photos have been uploaded to that category.
- Upload exterior and pool photos first — these are the most important for listings
- Use Drone Shots for aerial overview images — highly effective for marketing
- Keep Logo images in PNG format with transparent background where possible
- Maximum 5 files per upload batch — you can repeat the upload multiple times per category
Navigation
Section titled “Navigation”| Control | Action |
|---|---|
| Previous | Return to Step 8 — Facilities Checklist |
| Save Progress | Save without advancing |
| Next | Advance to Step 10 — Location & Attractions |
Proceed to Step 10 — Location & Attractions.